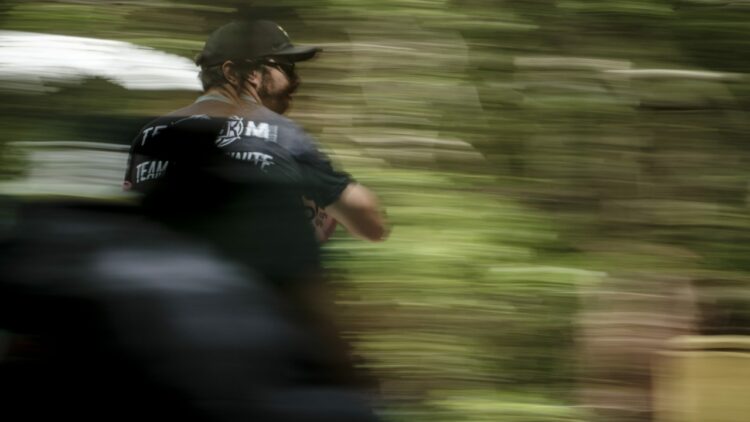
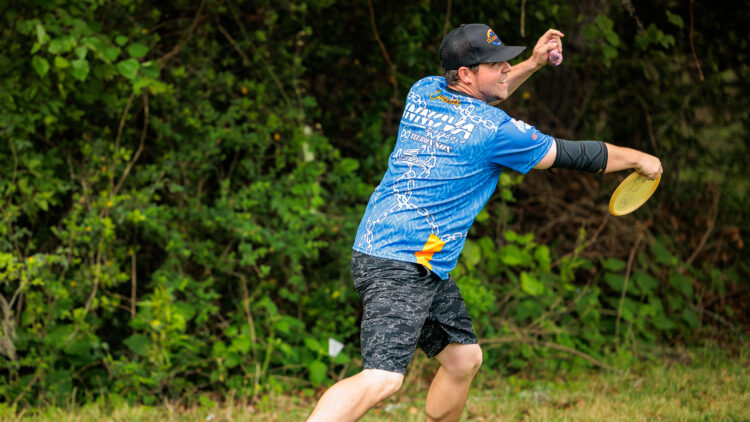
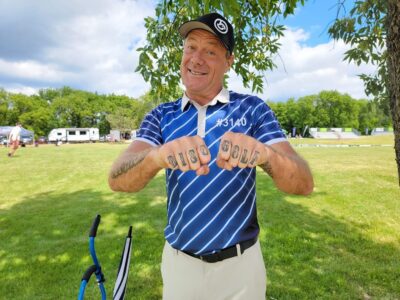
Clint Easterly (BlitzDG) – Bringing You The Disc Golf Distance!
To Clint Easterly (aka BlitzDG), there is no confusion when it comes to understanding why people come to his YouTube channel.
Distance and Power.
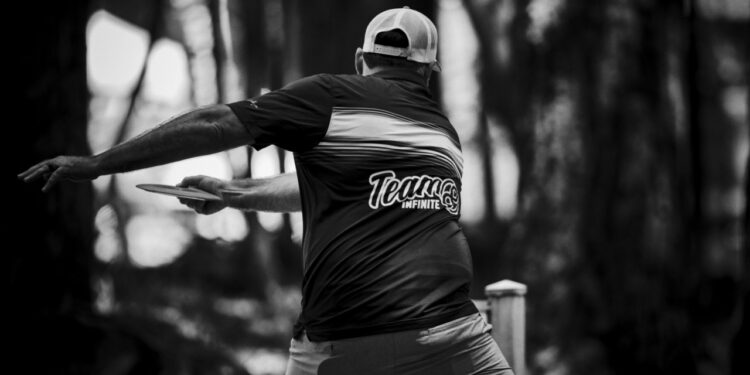
People want more of it, and Easterly, a proud member of the Infinite Team, wants to get you there.
And with a max disc speed in the mid-80’s and a goal to break 80 mph from a standstill, Easterly has clearly figured some things out.
What’s even more surprising is that he’s done all this starting in his mid 30’s and he’s only been at it for 3 and a half years. Normally, that’s not a recipe for athletic success.
Does it hurt that he’s built like a brick house and has a keen interest in his own fitness?
Certainly not. In fact, keeping fit is part of the distance equation.
But that’s only part of it. And Easterly, who is also a self-taught “student” of biomechanics, has sifted through a lot of disc golf tutorials and has managed to mostly separate the wheat from the chaff.
What he brings to his loyal viewers, is not only a curated list of the best drills to get you the distance you crave, but also the creativity and understanding to devise his own drills and fill in some gaps.
Along the way he is bucking some disc golf conventions, building community, and providing some much needed inspiration to the people in his orbit.
So, let’s get you a healthy dose of all of it as well. Let’s go behind the curtain with Clint to see what he’s about. Then, let’s point you in the right direction so you can unlock some of his teachings and add some distance to your own game too!
Clint Easterly and Infinite – A Perfect Match
Some might call Clint’s pairing with Infinite mutually beneficial. Others would probably say it’s a perfect match.
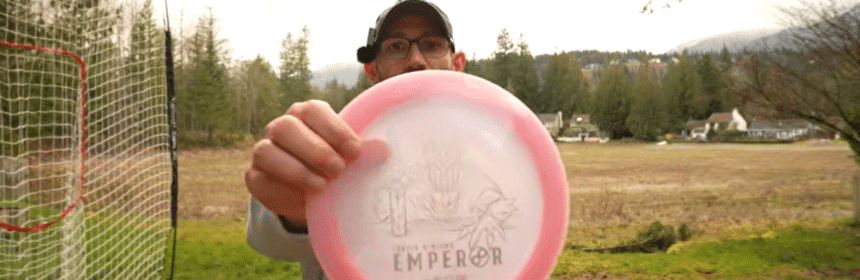
Long before Easterly ever joined up with Infinite Discs he had a deep appreciation for their discs, and one disc in particular.
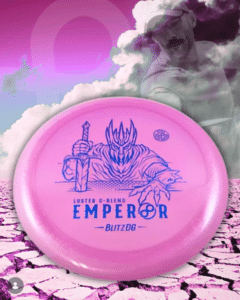
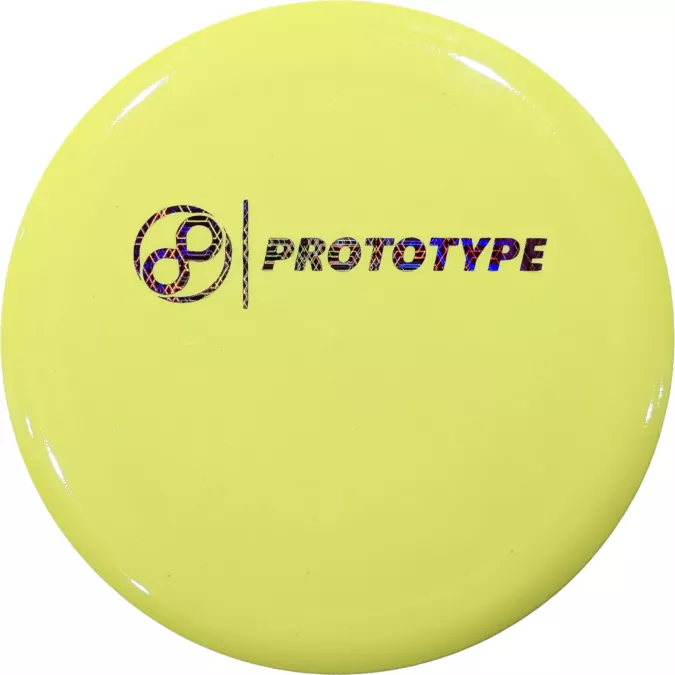
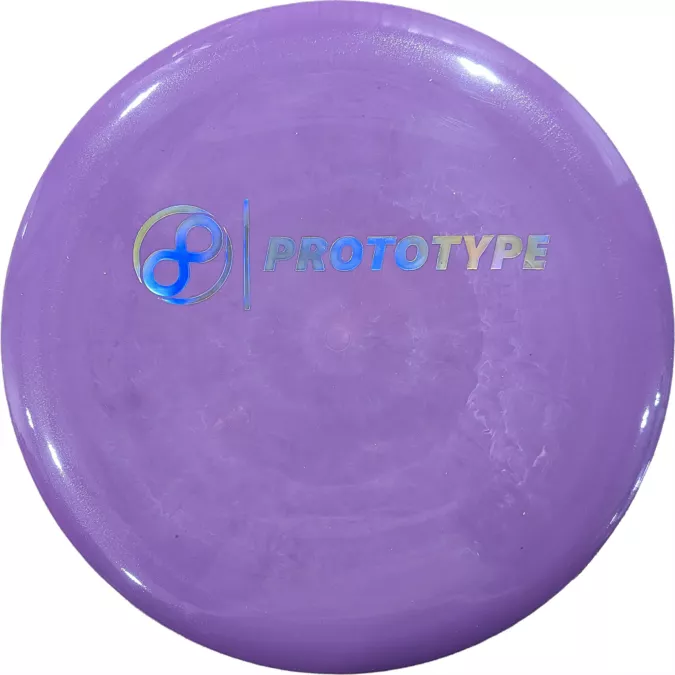
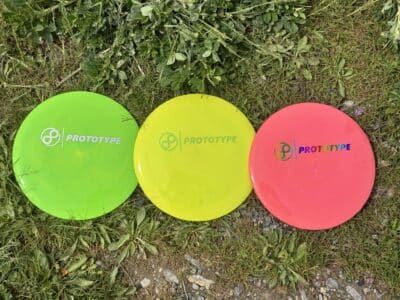
“I’ve always loved Infinite Discs. I truly think they’re great. And, to me, the Luster C-Blend Emperor is the best distance driver in disc golf.”
Important Note: We have timed up the release of this post with Clint’s next drop of signature discs! Given they only lasted days last time, we can’t guarantee they’ll be there, but be sure to check out Clint’s Signature Pro Page to get your hands on his signature disc!
Easterly doesn’t deal in hyperbole and he speaks his mind. He won’t push a product he doesn’t believe in.
“I don’t like peddling crap,” he tells me.
So, you can imagine, years later, after he had moved up the Infinite ranks, how elated he was to get his own signature stamp on that very disc he had found to be better than all others.
It was a momentous occasion for him. A powerful indicator that he was doing something right.
There was only one problem, if that’s what you want to call it.
They sold out in the first few days.
And this puts a spotlight on another ingredient to Easterly’s growth and success…
Building Disc Golf Community
Clint builds community.
It comes naturally to him.
Easterly genuinely cares about the people that come to his channel, take his private coaching, or somehow come into his world by other means.
He wants you to succeed. He knows that there are no quick fixes in disc golf. You can’t just watch his, or others’ videos once and expect to see immediate results.
You need to stick with it and put in the time. And for many, in our harried lives, being self motivated to do a drill for a month isn’t so easy.
Clint knows this and is there to provide encouragement. Whether it’s finding the positives in what his students are doing and pushing them to keep going, or answering (nearly) every comment/question he gets on his channel, he’s there to support you.
So, you can imagine the response that happens when a guy like that puts out a signature disc and the community has a chance to return the favor.
A thousand discs get swept up in a matter of days.
Community and inspiration are nice and all, but it doesn’t amount to much if you don’t know what you’re talking about. We all know how much information is out there. If you want to separate yourself, you have to know what you’re doing.
Let’s take a look at some of his ideas and see what he’s telling people so that you/they can get more distance on your throws.
Distance Technique: What’s Real and What’s Myth?
Being relatively new to the sport, and having a natural interest in form and mechanics, has helped Clint to lend a fresh set of eyeballs to some of disc golf’s conventional wisdom.
One of the major concepts that he has taken on is the idea that our distance comes from our legs.
If you think about it, that seems to be the case, or at least the thinking, in almost every athletic endeavor. Our legs are far more powerful than our upper body and so these must be the source of most of our power.
In disc golf, Clint begs to differ.
And while he doesn’t refute that some of our power comes from our base, he’s saying that a lot more of it comes from our upper body than you think.
In essence, it all boils down to timing and coordination.
If you can sync up and string together this series of upper body movements, you are going to get a major boost in your speed and distance.
And that’s what his drills are designed to do. These drills help get your timing in line so you can maximize your upper body efficiency.
They also allow you to deemphasize some of the other concepts that people think matter more than they do. Ideas like whether your front foot is open or your back foot is open, how much your hip rotates, and more…
To be clear, he’s not saying they don’t matter at all. He’s only saying that they matter much less than people think. He calls it “icing on the cake.” And by clearing some of these thoughts from your mind, it allows you to focus on what matters most. Your timing.
Clint puts what is important in rather simple terms. “You need to start things at the right time. Keep them in order. And then stop things at the right time.”
In the following video, Clint breaks down some of these disc golf myths, if you will. He shows you how much of a limited impact they have on timing so that you can focus on the upper body timing that actually does matter.
In the end, we get a dose of Clint’s understanding of the importance of getting his viewers motivated and inspired.
“So this year, I want you guys to stop saying you can’t do it. Stop saying ‘I’ll never throw 400. I can’t throw 400. And start saying ‘I know I’m strong enough to. I have to learn how. I have to learn the sequencing and timing. And I have to drill this into my body…’ That is the most important thing in the disc golf backhand. And that’s what I wanted to get across in this video.”
What is Coming Down the Line With BlitzDG?
First and foremost, Infinite and Clint will be sure to continue to collaborate to keep the content coming for you.
This will also entail some more drops of Clint’s beloved Luster C-Blend Emperor with his signature stamp. Check out the Clint Easterly (Blitz DG) Signature Series page to keep up with Clint’s next drop of discs. (Note: The new drop happened when this post was released!)
In addition, Clint will be taking on putting. He recognizes its importance and he struggles with it on the course. And with this in mind, he wants to take you on his personal quest to improve his putting. He plans to continue to build it up so that he can rely on it when it matters most.
Hopefully, along the way, his viewers will be able to glean valuable information (and motivation) to improve their own putting as well.
He’s also got some continued collaboration with TechDisc that he’s excited about.
And, of course, he’ll continue his quest to add more speed and distance and transfer that knowledge to his viewers…
Clint and Infinite Discs – In Summary!
Clint Easterly (aka BlitzDG) is proud to be partnering with Infinite and is a perfect fit.
Not only has he long-admired the Infinite line of discs, but it just so happens that his all-time favorite distance driver is a part of this line. And now, due to his prodigious rise in the world of disc golf distance, he has teamed up with us and landed his very own Signature Luster C-Blend Emperor.
It doesn’t get much better than that in the disc golf world.
Moving forward, Clint is going to continue doing what he does best. He is going to continue pushing distance boundaries and finding you new ways to get your form, technique and timing to click and ultimately improve.
He’s also going to continue building community through his YouTube Channel, his private classes, his collaborations and more.
And, just to put himself out there, Clint is also going to take you on a journey in a venture that doesn’t come as naturally to him. Namely, disc golf putting.
All this and more have Clint excited and optimistic for a great year (and beyond).
Be sure to continue to follow his work. Then, alongside Clint, you can continue to elevate your game and get the results you’re looking for.


 In the top right of the red display box (near the X) is a “sort by” drop-down menu.
 Click that drop-down menu and select “Weight: Low to High”.