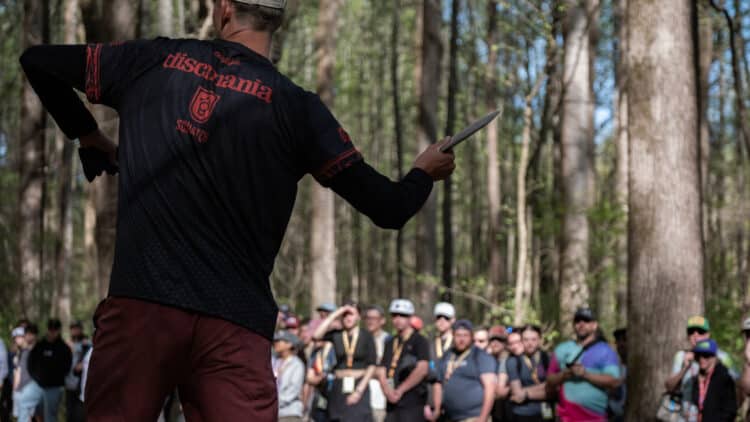
How to Putt: Disc Golf Putting Techniques
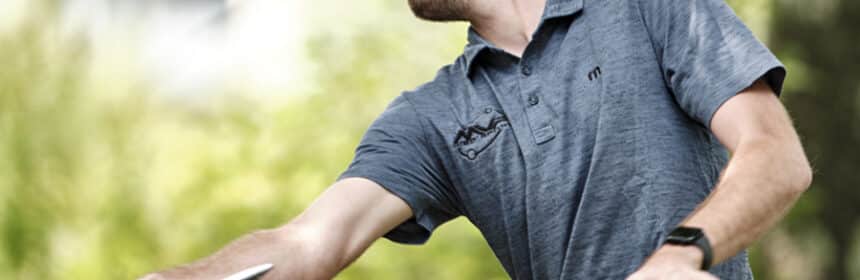
Unless you park a drive or throw in a long shot from the fairway, you will be putting on nearly every hole. Sometimes those putts are simple drop ins from a few feet away. Other times you need to get the disc into the basket from much farther out. In this blog we will explore the most common disc golf putting techniques and stances that players use to get the disc into the chains.
Although there are many different techniques used throughout the disc golf world, this blog focuses on two of the most common stances and two primary putting styles, along with other, more unusual methods that players use when the situation demands it. These techniques cover the majority of putts you will see on the course and can help you build a more versatile short game.
Putting Stances
STRADDLE
The straddle stance is used by many players either as needed or as their primary putting stance. Pros like Nate Sexton and Kevin Jones rely on it regularly. By facing the basket with your feet parallel and spread apart, you are more stable and can easily putt around obstacles.
The straddle stance goes well with a push putt, although spin putts also work. You can generate extra power by using a jump putt from this stance, or stay on the ground and rely on your legs and arms for momentum.
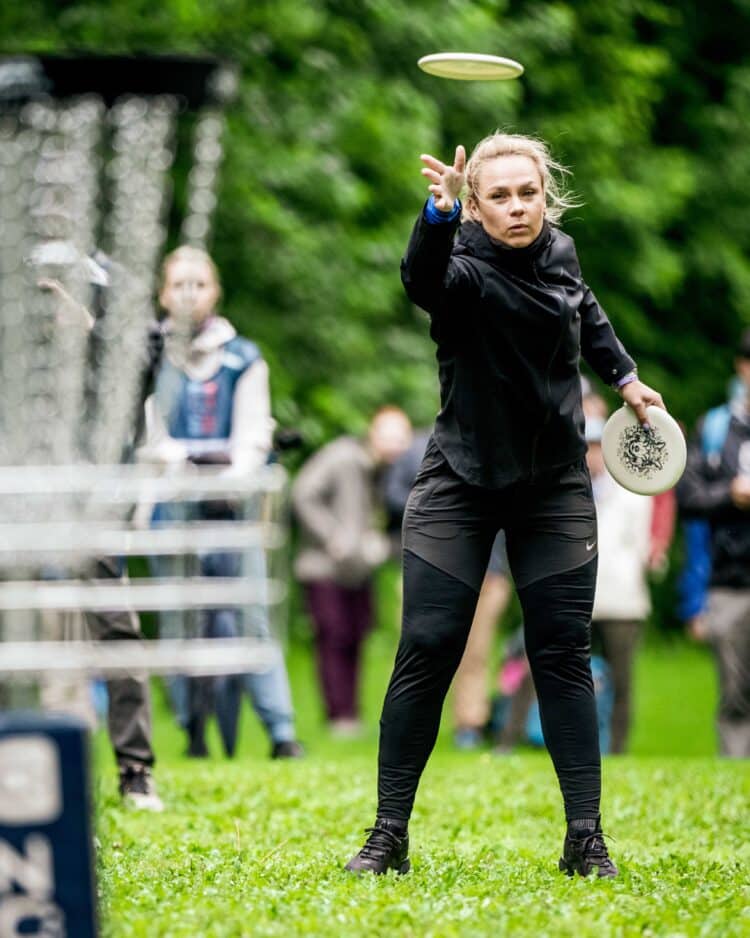
STAGGER
The stagger stance is the most common stance in disc golf. It is a position that allows you to generate power from your legs, hips, shoulders, arms, and wrist. You place one foot in front of the other with your forward foot the same as your dominant hand. Most of your weight begins on your back foot and shifts forward as you release.
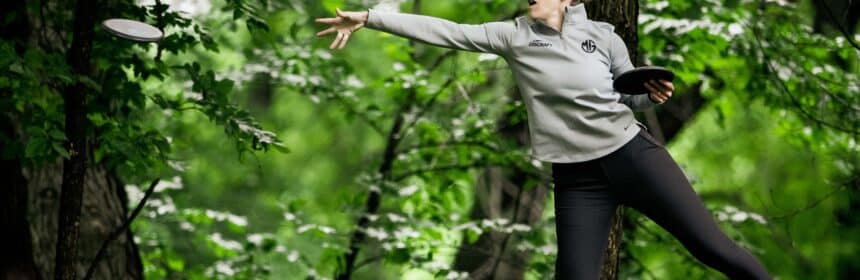
Your back leg often lifts into the air to counterbalance your body, which adds distance and stability. This stance uses a lot of muscle groups, but when mastered it produces powerful and consistent putts. Jennifer Allen is known for having one of the highest back leg kicks in the sport.
Types of Putts
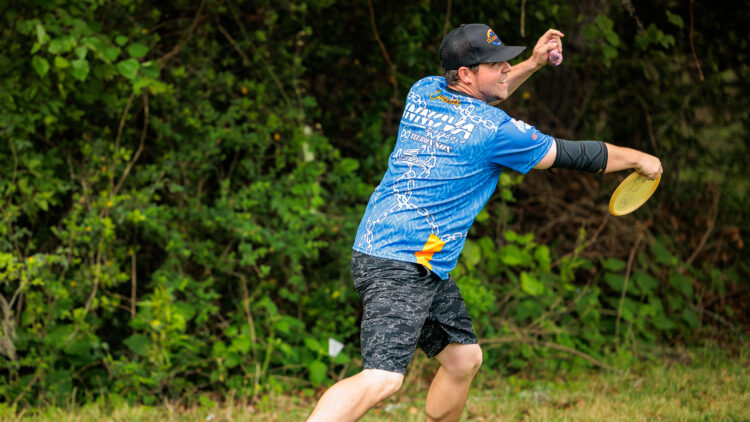
SPIN
The spin putt emphasizes creating heavy rotation on the disc. You bring the disc close to your body and snap it toward the basket using your elbow and wrist. This motion produces a fast, spinning putt that can cut through wind and reach longer distances.
The downside is that more moving parts mean more chances for inconsistency. However, the spin putt works well in both straddle and stagger stances and is especially useful in windy conditions.
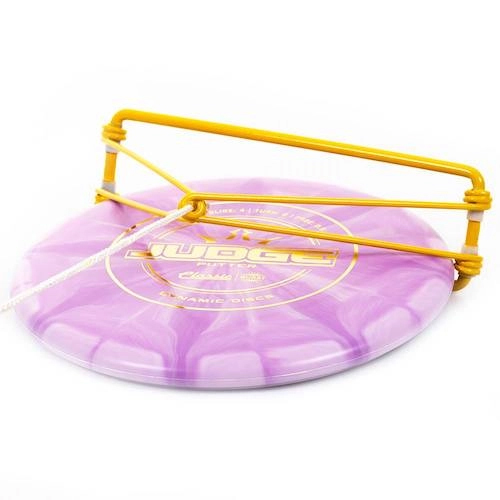
PUSH
The push putt focuses on lofting the disc with minimal spin. The disc slowly floats toward the basket, which reduces the chance of having to make a long comeback putt. The higher arc can help you clear obstacles and the softer impact with the chains reduces spit outs.
The tradeoff is reduced distance and more influence from the wind. Push putts require consistency and proper technique in order to be effective.
Disc Golf Putting Techniques
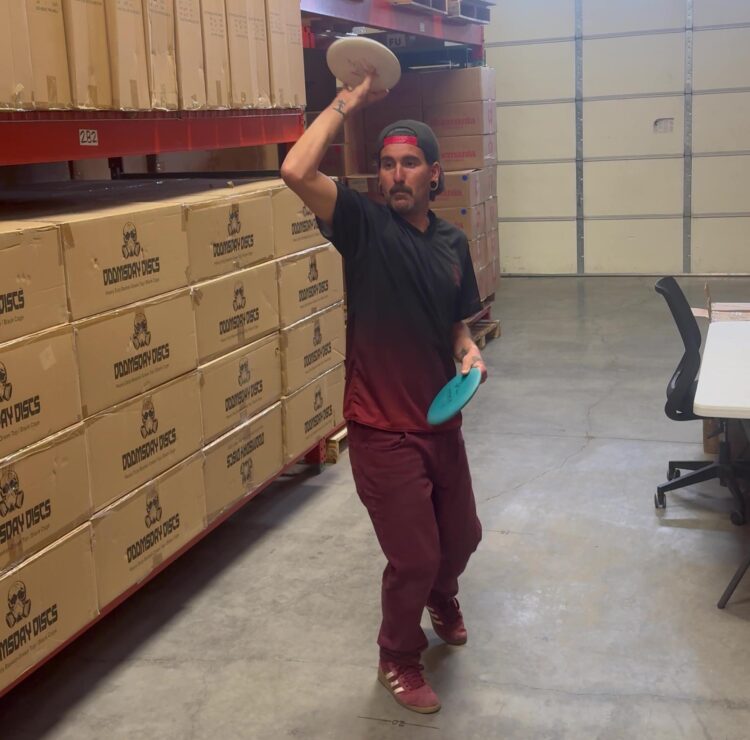
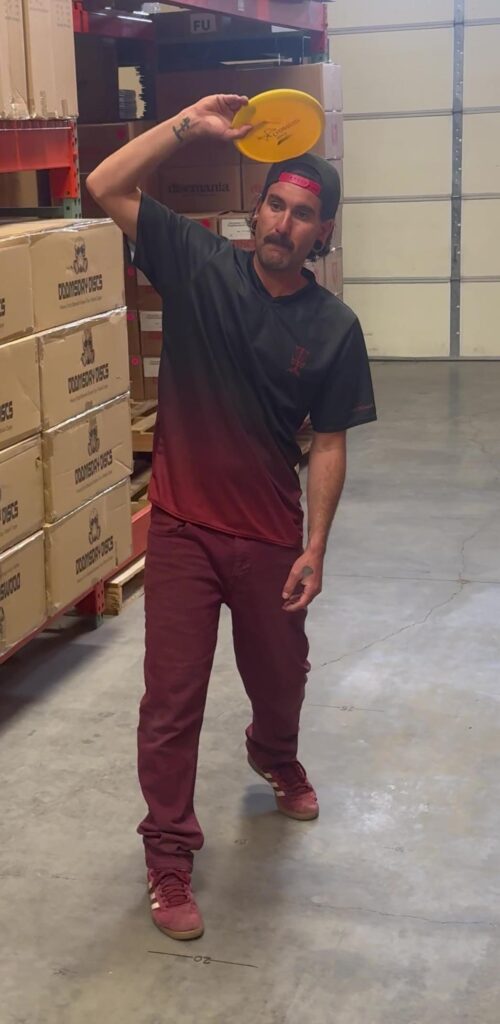
TURBO PUTT

The turbo putt, often called a pizza putt, is performed by holding the disc flat with your thumb underneath the putter and your fingers wrapped around the outer rim. You push the disc forward and add heavy spin by snapping your wrist. When executed well, this motion creates enough rotation to reach longer putts with surprising accuracy.
Although the turbo putt can generate impressive spin, it is most commonly used for short putts on elevated baskets or when you need to get over obstacles such as bushes. It is entertaining to watch a skilled turbo putter, but it is a little more rare to see.
BASKETBALL PUTT
The basketball putt mimics the motion of shooting a basketball. You hold the disc upside down at an angle and flick your wrist upward, putting the disc in a flipping arc toward the basket. While this putt is rarely seen in competition, a few pros such as Ricky Wysocki have used it on video.
A variation of this technique involves flipping the disc so it rotates slowly without much spin, allowing it to drop into the chains on the flight plate or bottom. Jennifer Allen has used this method for short putts, especially on elevated targets.
SCOOBER
The scoober, popularized in Ultimate Frisbee and seen in disc golf videos featuring Brodie Smith, is thrown with the disc upside down at an angle. It uses a short elbow motion and a quick wrist flick in a reverse forehand style. The disc floats and then drops sharply, which reduces the chance of a long comeback putt if you miss.
Although the scoober can help you navigate obstacles or tight angles, it requires skill and practice. Players with Ultimate experience may find it easier to throw successfully, but most disc golfers will have better success with more traditional putting techniques.
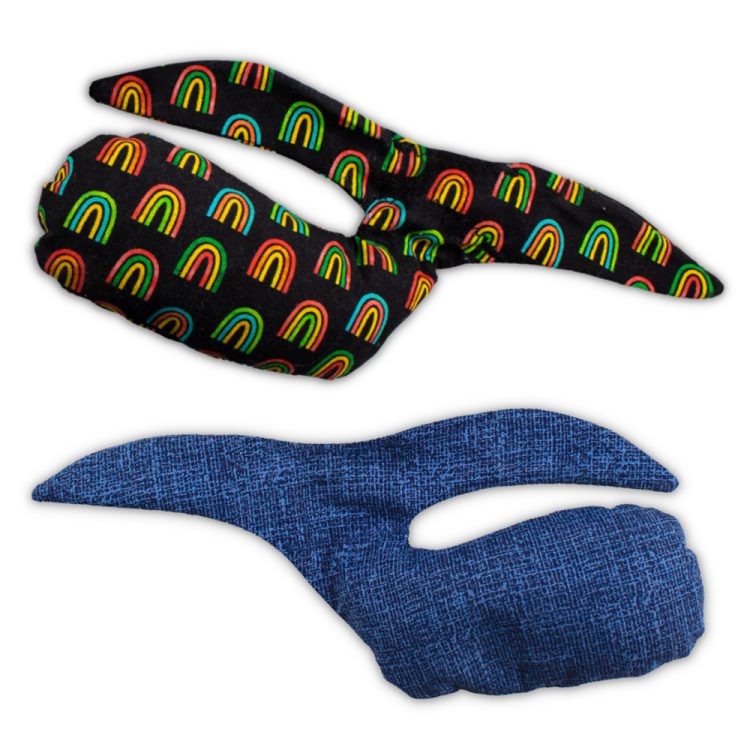
KNEELING
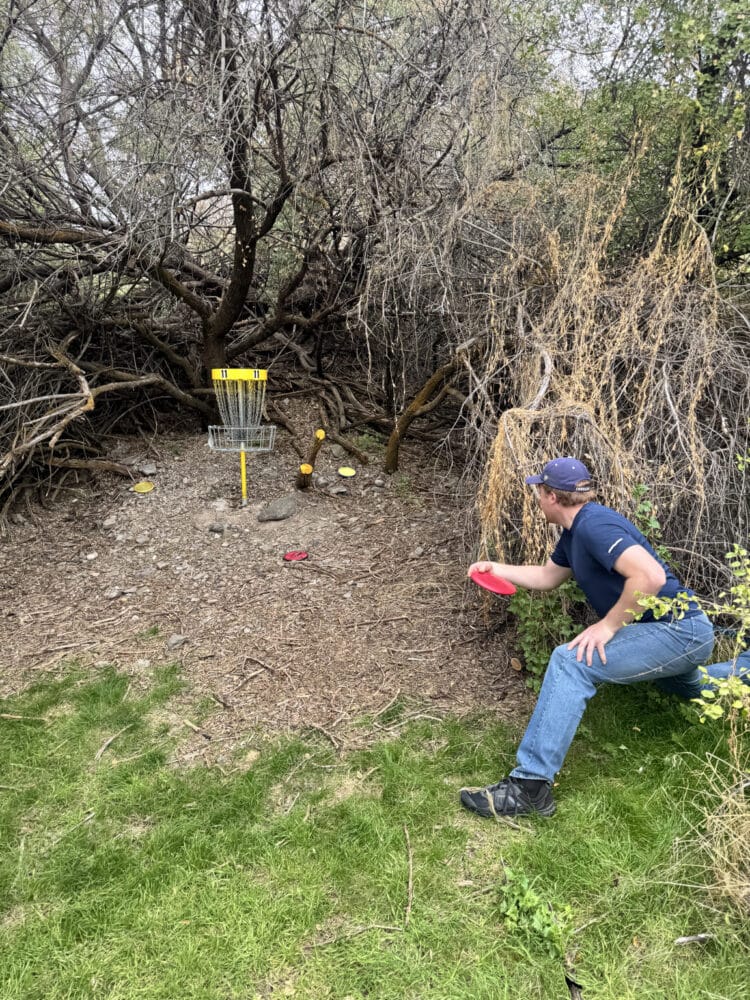
A kneeling putt is typically used when obstacles force you into a wide stance or when you need to get under a low ceiling. Dropping to one knee can give you more lateral reach than a standard straddle and may offer better stability. Many players carry a foam mini to cushion the knee during these shots.
This technique is especially useful when you need maximum stretch around an obstacle or when bending down for a low ceiling putt would compromise your balance. Practicing kneeling putts helps you understand how the disc needs to be released to achieve the correct angle and distance.
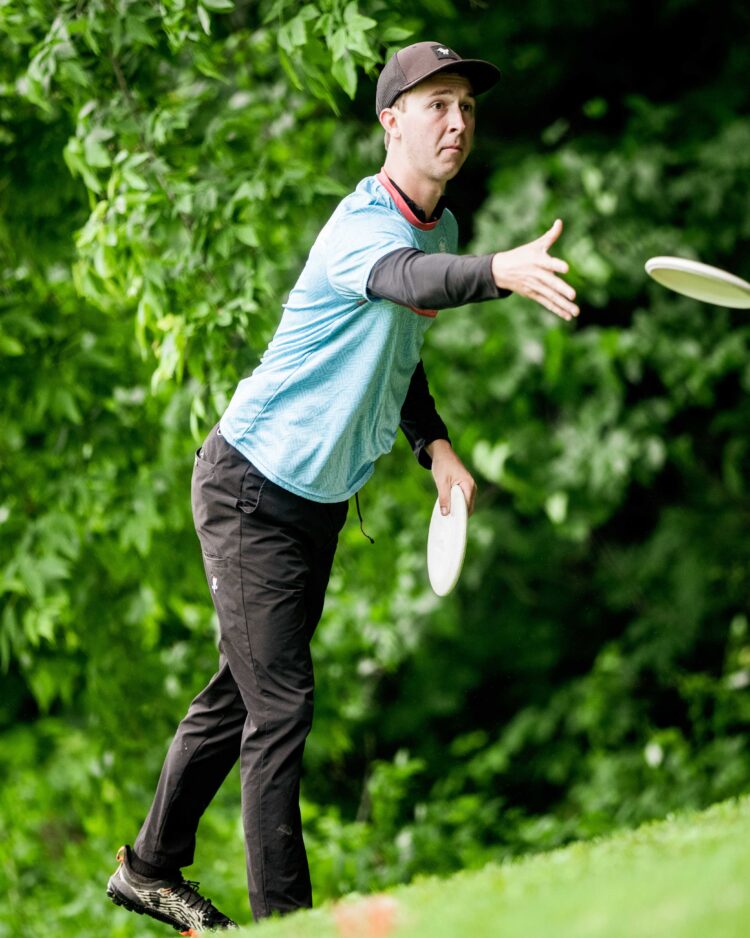
STEP PUTT
The step putt is a common technique used to generate extra power from outside the 10 meter circle. Because stepping when you putt inside the circle is a foot fault, this technique is only legal from longer distances. To use a step putt, you begin stepping toward the basket and release the disc before your foot touches the ground.
Timing is critical because releasing too late results in a foot fault and releasing too early reduces power. Although the step putt can add distance, it introduces more movement and requires consistent mechanics to be effective. If you want the ability to use is properly, you should practice the technique to make sure your timing is right.
JUMP PUTT
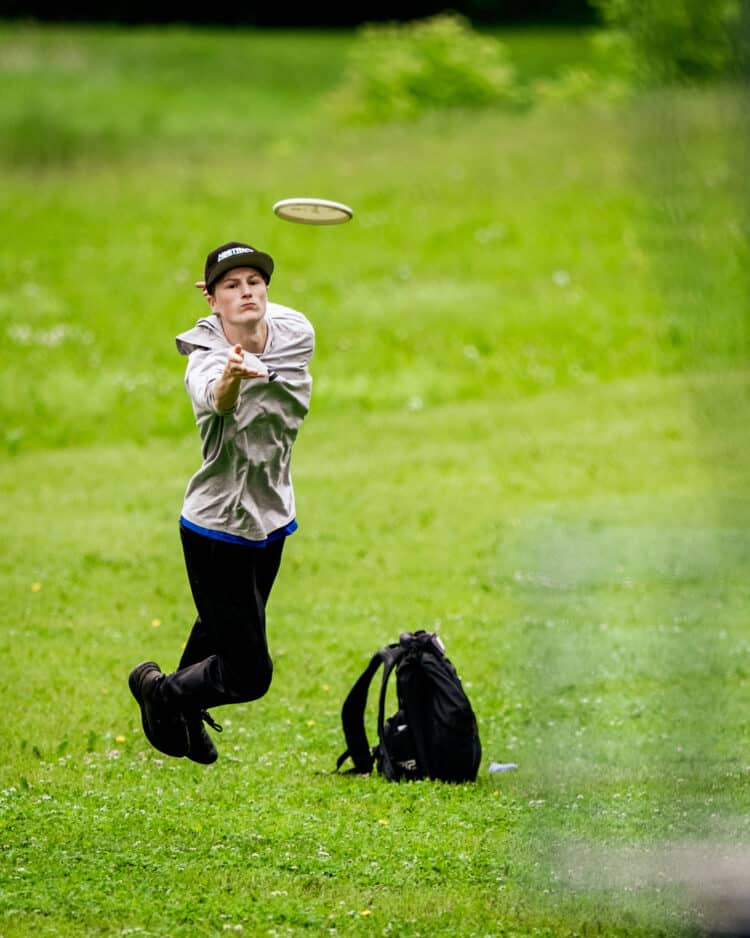
The jump putt is the more powerful sibling of the step putt. Instead of stepping forward, you jump toward the basket with both feet and release the disc just before you leave the ground. This motion transfers more energy into the putt and can significantly increase your distance.
Like the step putt, the jump putt must be used outside the 10 meter circle. It requires precise timing but can come in handy if you have a long putt.
Summary
No matter which putting technique you prefer, the key to success is practice. Repetition is the key to confident and successful putts. Once you develop a reliable form, you can adapt to different situations and use different techniques when needed. Spend a few minutes each session practicing new methods so you are prepared for anything the course throws at you.
Regardless of the putting style you use, to get the best prices and the largest selection of putters on earth, visit Infinite Discs.
Get out hucking and throw what you love!


 Hyzer and anhyzer are not separate throwing styles, they are angles you apply to any throw. They are so fundamental to disc golf that they deserve their own spotlight.